
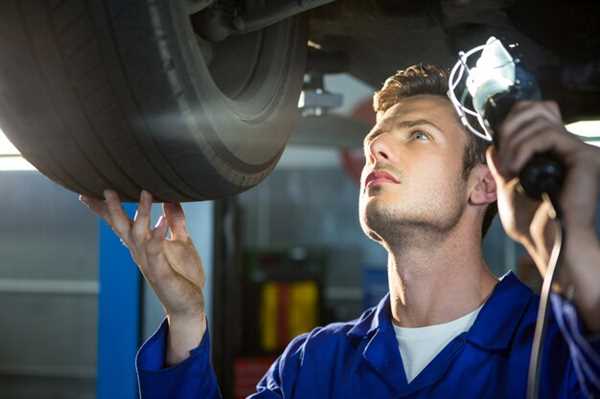
Regular checks on friction materials are imperative. Ensure that pads and shoes are replaced based on manufacturer recommendations or wear indicators. Inspecting these components visually and physically will help avoid unexpected failures during operation.
Fluid integrity plays a critical role; inspect the hydraulic oil levels and quality routinely. Contamination or moisture can severely diminish performance and lead to system failure. If the fluid is discolored or contaminated, a complete change is advisable.
Pay close attention to the functioning of the actuator. A systematic inspection for leaks or corrosion can help maintain responsiveness and ensure that the vehicle remains controllable under all driving conditions. Keeping connections clear of debris and securing fittings can improve longevity.
Consideration of the environmental factors impacting performance is essential. For instance, driving in heavy traffic or on diverse terrains can accelerate wear. Adapting your inspection frequency based on driving habits and conditions will enhance durability and reliability.
Identifying Signs of Brake Wear and When to Replace Components
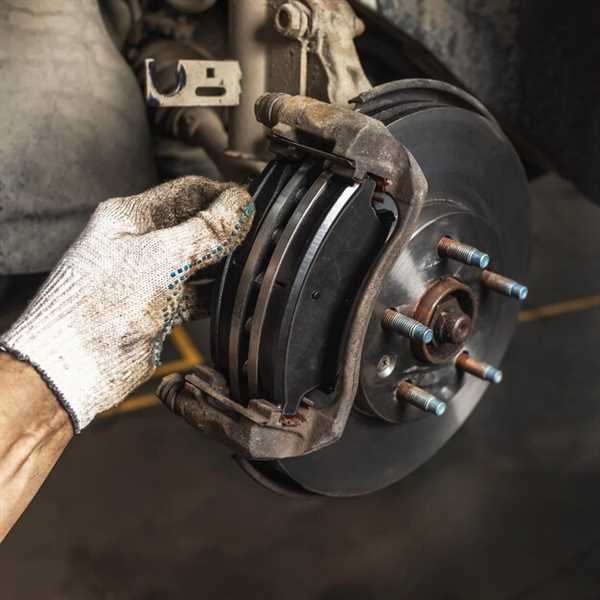
Familiarize yourself with unusual sounds such as squeaking or grinding. These noises often indicate that friction materials have worn down, requiring immediate attention. If you hear these sounds, it may be time to inspect and replace specific components.
Additionally, pay attention to vibrations through the steering wheel or brake pedal during application. Such sensations can indicate uneven wear or a malfunction in the system. Immediate evaluation by a skilled technician is advised to assess the damage and necessary replacements.
Check the thickness of the pads regularly. If they measure less than 3 millimeters, replacement is recommended. Visual inspections can significantly reduce the risk of decreased performance or failure during use.
Keep an eye out for warning lights that indicate brake issues; dashboard lights specifically designed for alerts should never be ignored. These signals indicate a need for inspection, and addressing them sooner rather than later can prevent more costly repairs.
Monitor the behavior of your vehicle during braking. If you find it takes longer to stop or pulls to one side, it’s essential to assess your components. Such changes typically signify that parts may need replacing to ensure a stable and secure driving experience.
Step-by-Step Guide to Proper Brake Fluid Replacement
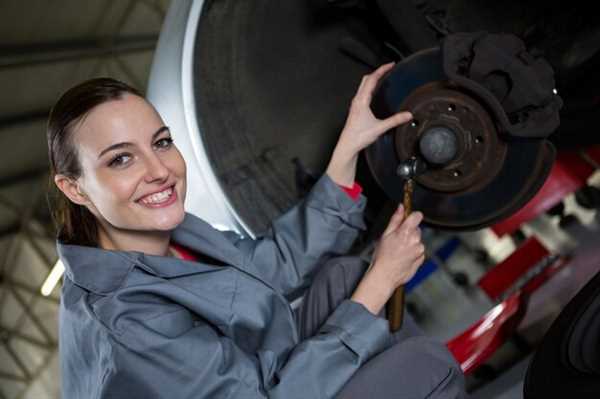
First, gather necessary tools: a wrench, a funnel, new fluid, and a bleed bottle. Ensure the vehicle is parked on a flat surface and the engine is cool. Safety goggles and gloves are recommended to protect against leaks.
Check the level of the existing fluid. Locate the reservoir, usually found near the back of the engine bay. If the fluid appears dark or contaminated, it’s time for a replacement. Clean the area around the cap to prevent debris contamination.
- Remove the reservoir cap and use a siphon or turkey baster to extract the old fluid.
- Fill the reservoir with the new fluid according to the manufacturer’s specifications.
- Proceed to the brake lines. Start with the wheel farthest from the master cylinder. Use a wrench to loosen the bleeder valve.
Have an assistant press the brake pedal while you monitor the outflow. Once the fluid runs clear, snug the bleeder valve and repeat for each wheel. Keep the reservoir topped off during this process to avoid air entry.
Finally, test the pedal feel. Ensure it’s firm before taking the vehicle for a short drive. Afterward, inspect for leaks and check the fluid level again. Regularly maintaining this component is imperative for dependable performance.
Recommendations for Regular Brake System Inspections and Testing
Inspect the brake fluid regularly, looking for moisture content or contaminants. A simple test strip can reveal if the fluid requires replacement, promoting the longevity of the components.
Visual checks are critical. Examine pads and rotors for wear indicators. If the pads appear thin or the rotors exhibit scoring, replacements should be planned promptly.
Each inspection should include a functionality test. Engage the brakes at various speeds to assess effectiveness. Listen for unusual noises or feel for any vibrations that might suggest underlying issues.
Check the brake lines for signs of wear, leaks, or corrosion. Ensure all connections are secure and free from deterioration, as compromised lines can lead to decreased performance.
Pay attention to the master cylinder. Any signs of fluid leaks around it require immediate attention. A well-functioning master cylinder is vital for maintaining appropriate pressure across the entire assembly.
Ensure the parking brake operates smoothly. Regular engagement and release tests will confirm its reliability, preventing unexpected rollaways in parked vehicles.
Monitor the response time of the brakes. If there’s a noticeable delay in stopping, inspect the entire hydraulic system for air bubbles or other malfunctions that could affect performance.
Lastly, maintain a log of inspections and tests. Documenting findings and actions taken helps in tracking patterns and forecasting future needs, ensuring all components function as intended.